Sure, a handstand is a fun trick to have up your sleeve. But as any expert inverter will tell you, learning how to do a handstand is more than just a cool photo op. This advanced yoga pose is an incredible feat of strength and balance. The many benefits of handstands make them an especially aspirational move, improving blood flow, reducing stress, and improving strength all at the same time (per the International Sports Sciences Association). However, unlike other workout moves, there’s a significant barrier to entry. It’s not easy to learn how to do a handstand when you’re up against a force like gravity. But although challenging, it’s still possible, and these nine exercises will help you figure out where to start.
If you have your heart set on getting upside down – or at least want to give it a try – learn how to do a handstand with our simple guide, courtesy of yoga and gymnastics experts. This list of nine handstand progression moves is designed to slowly build your strength and teach you how to balance upside down. It’s the perfect resource for beginners learning how to do a handstand, allowing you to put in the work until you’re ready to take flight (safely). But before we get there, learn a little more about why this move is absolutely worth your time.
Handstand Benefits
“Handstands have plenty of benefits,” says Danielle Gray, a NASM-certified trainer and founder of Train Like a Gymnast. Some of the physiological handstand benefits include increased circulation, improved shoulder mobility, better muscle endurance, and overall body awareness and proprioception (aka understanding where your body is in space), Gray says.
Bryan Fobbs, NASM-certified trainer and a registered yoga teacher, agrees. “Handstands help to increase oxygenation throughout the body and improve circulation. When blood is sent upwards to the brain, it can help reduce dizziness and headaches,” he explains, adding that going upside down can also aid in digestive function. “Inverting your body helps stimulate your digestive organs and encourages better digestion.”
Beyond their many physiological benefits, handstands double as a fantastic core move. “Holding a handstand requires you to actively use your abdominal and shoulder muscles,” Fobbs says. “This helps to strengthen these particular muscles, which in turn can help improve your posture and balance.”
But like all exercise, handstands don’t just benefit you physically. “Some of the mental benefits include a new perspective (that some people may never experience in their lives) [and] improved confidence and self-esteem, which can encourage continued progress and goal setting,” Gray says. “Inverting your entire body can be a welcomed change from the pressures of daily life,” Fobbs adds. “Being upside down can create a feeling of lightness, which can lead to a more peaceful mind and less stress.”
How to Do a Handstand
Before trying any of the handstand progression moves below, take note of these tips from Gray.
- Stack Your Joints Straight: Focus on keeping toes over knees over hips over shoulders over wrists, Gray says.
- Use Your Fingers: “Distribute your weight throughout your entire palm, and press into your fingertips as opposed to dumping all of the weight in the heels of your palm to avoid wrist pain,” she says.
- Gaze in Between Your Hands: “Keeping your arms next to your ears and a neutral spine, look with your eyes in between your hands,” she says.
- Every Muscle Should Be Engaged: “You should always feel active in a handstand, never like you’re simply balancing and hoping you stay up,” Gray emphasizes. “Press into the floor, squeeze your legs straight and together, lock out your elbows, actively stretch as tall as you can, and point your toes.”
Handstand Progression
Unlike many other exercises or yoga poses, you can’t necessarily hop into a full-blown handstand; you should progress slowly using specific moves to build up your strength and balancing skills. These handstand progression moves will help you get there.
- Push-Ups
- Pike Push-Ups
- Crow Pose
- Headstand
- Forearm Stand
- Handstand Facing the Wall
- Handstand Against the Wall
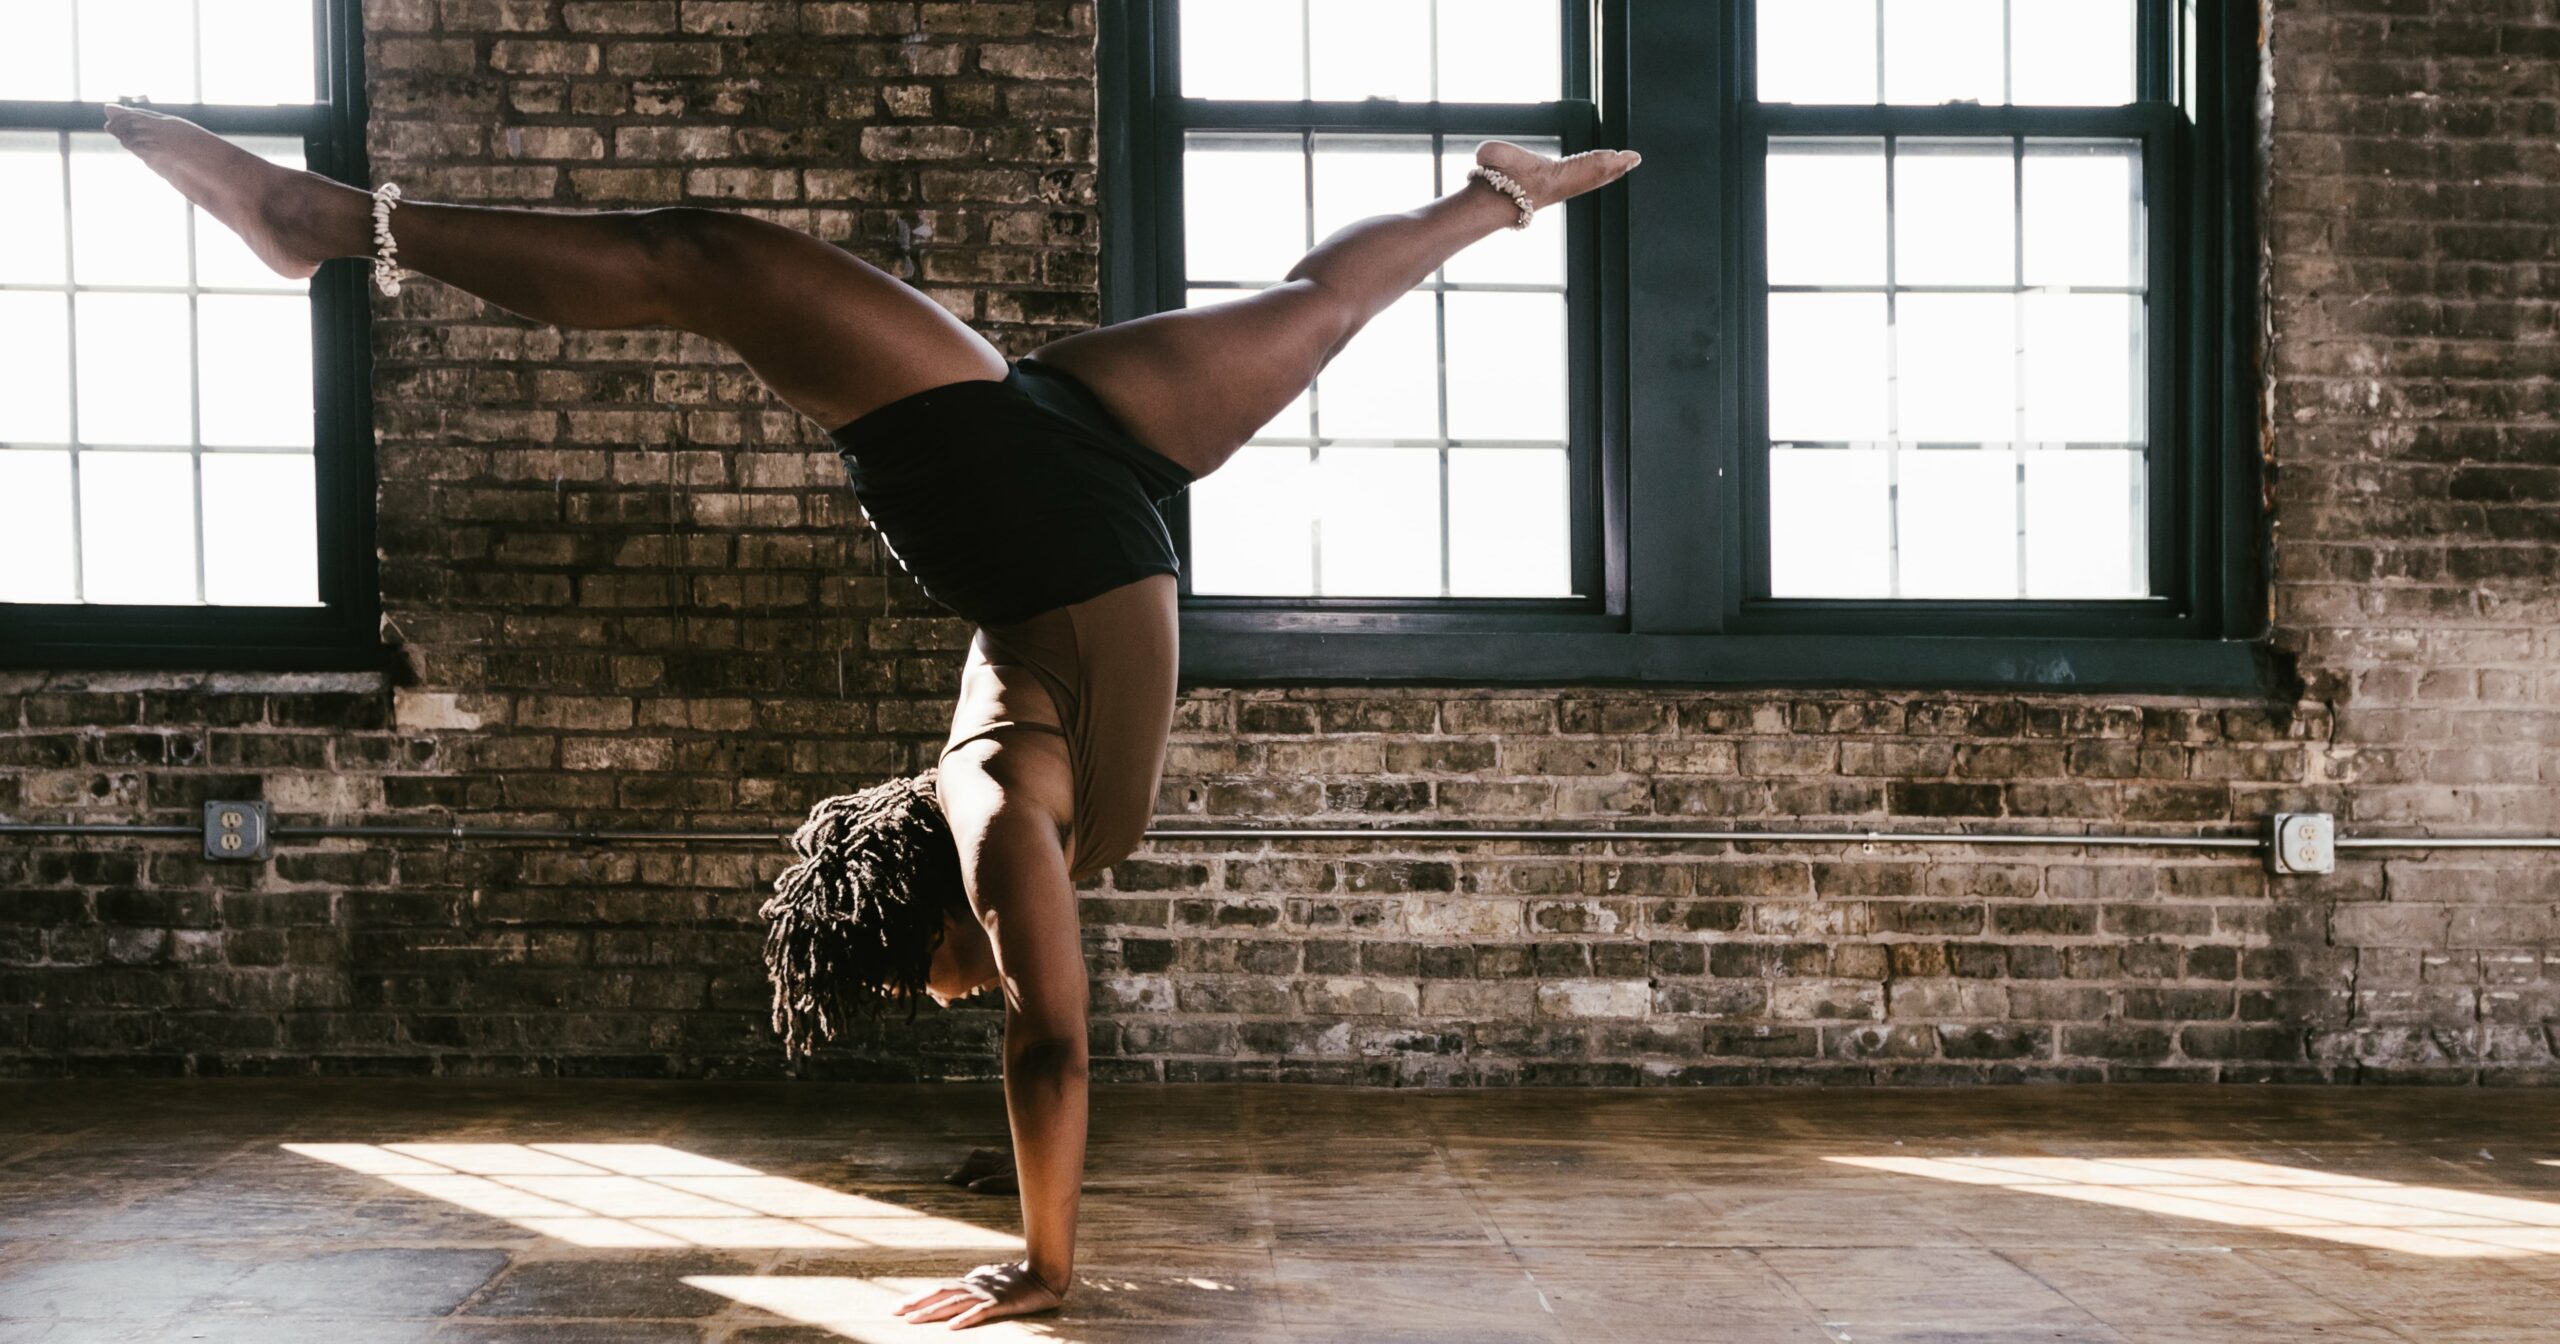
- Handstand Split
- Handstand
– Additional reporting by Jenny Sugar


