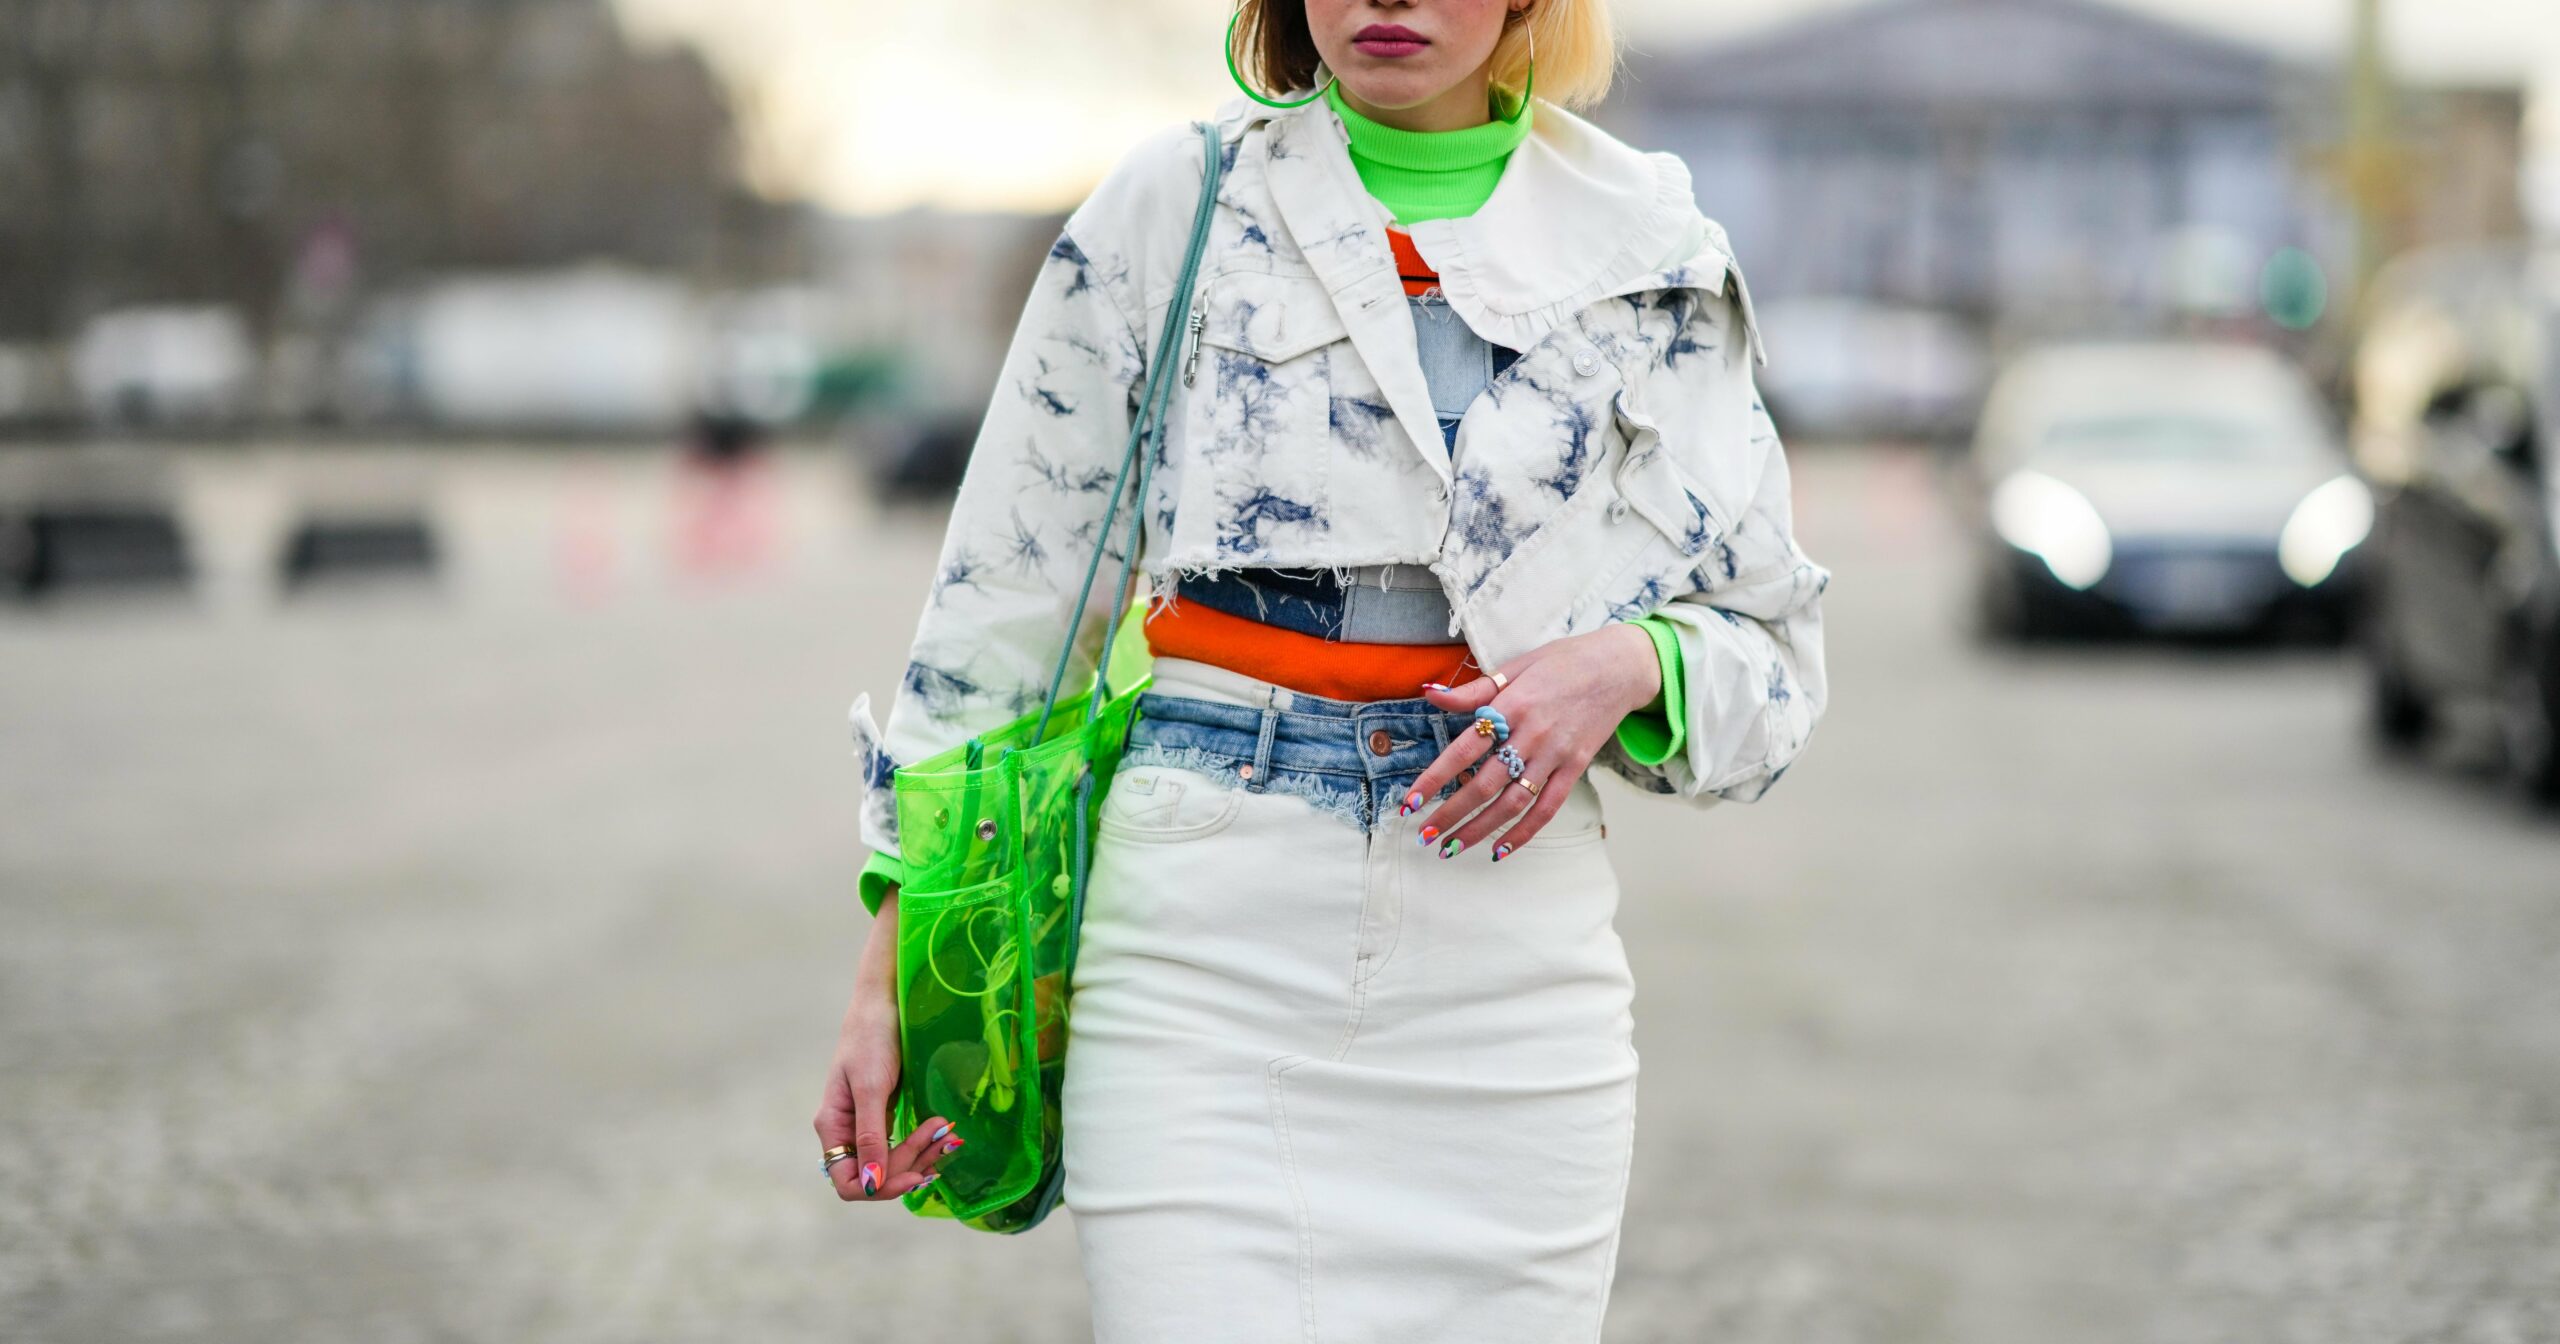
Whether you consider yourself a minimalist or a maximalist, there’s a nail art trend made just for you. For all of the minimalists out there, it could be something as simple as “naked french tips“; for our maximalists, we’d suggest something a little more out-of-the-box, like “junk” nails. But wherever you land on the nail art scale, there’s a product that should 100 percent be on your radar: blooming gel.
You’ve probably seen (and drooled over) blooming gel nail art in the past, but you might not have recognized it or been able to put a name to what you were seeing. The technique has only become popular within the last year or so, but the method has been used on countless celebrities (from Hailey Bieber to Dua Lipa) to create looks like crocodile nail art, fun floral looks, and aura nails.
Ahead, experts break down everything to know about blooming gel, including what exactly it is and how you can DIY the look at home. Keep scrolling to learn more.
What Is Blooming Gel?
“Blooming gel is a nail art product that creates watercolor or ‘blooming’ effect on nails,” Noodle Yess, a V Beauty Pure educator, tells POPSUGAR. “Once applied over the color of your choice, the unique formula allows the colors to spread and blend, creating a marbled or gradient appearance.”
Blooming gel can be used on all nail shapes and lengths, but one thing to note is that the longer the nail, the more surface area for intricate nail art. As for what types of nail art work best with blooming gel, the answer spans a wide range. “Blooming gel works well for creating abstract and artistic nail designs,” Yess explains. “[It’s] often used for watercolor-inspired looks, floral patterns, and gradients.”
How to Use Blooming Gel
If you’re planning to visit a nail salon, it’s recommended that you call before your appointment to find out whether or not the location carries blooming gel. Then, make sure to request a nail artist who has worked with it in the past. “Seeing a professional is the best way to go about achieving your desired nail art look,” says Mazz Hanna, CEO of Nailing Hollywood. “That being said, this is one of the easier designs to create at home as long as you have the correct products and tools.”
If you want to try creating this look at home, Morgan Dixon, a Nailing Hollywood nail artist, suggests using gel polish to achieve the look over a regular lacquer. After prepping your nails, choose a base color and paint two layers onto the nail, curing both. Next, apply a thin layer of blooming gel like the
Next, you’ll want to select the color you want to “bloom,” and place a dime-sized amount of polish in a palette. Then, grab a dotter tool, pick up a small amount of the shade, and place a dot on your nail. “You can dot or drag the dotter cool to create different looks,” Yess says. “Each time you want to make a new dot, place your dotter tool back into your polish on your palette. This will make sure that you have a consistent amount of product for each dot.”
Once you’ve finished with the nail art, Dixon says you should cure the blooming gel, then add a top coat and cure that layer as well.
Blooming Gel Inspiration
If you’re ready to book your next nail appointment or try out the art at home, keep scrolling for some of our favorite blooming gel nail art for inspiration.


