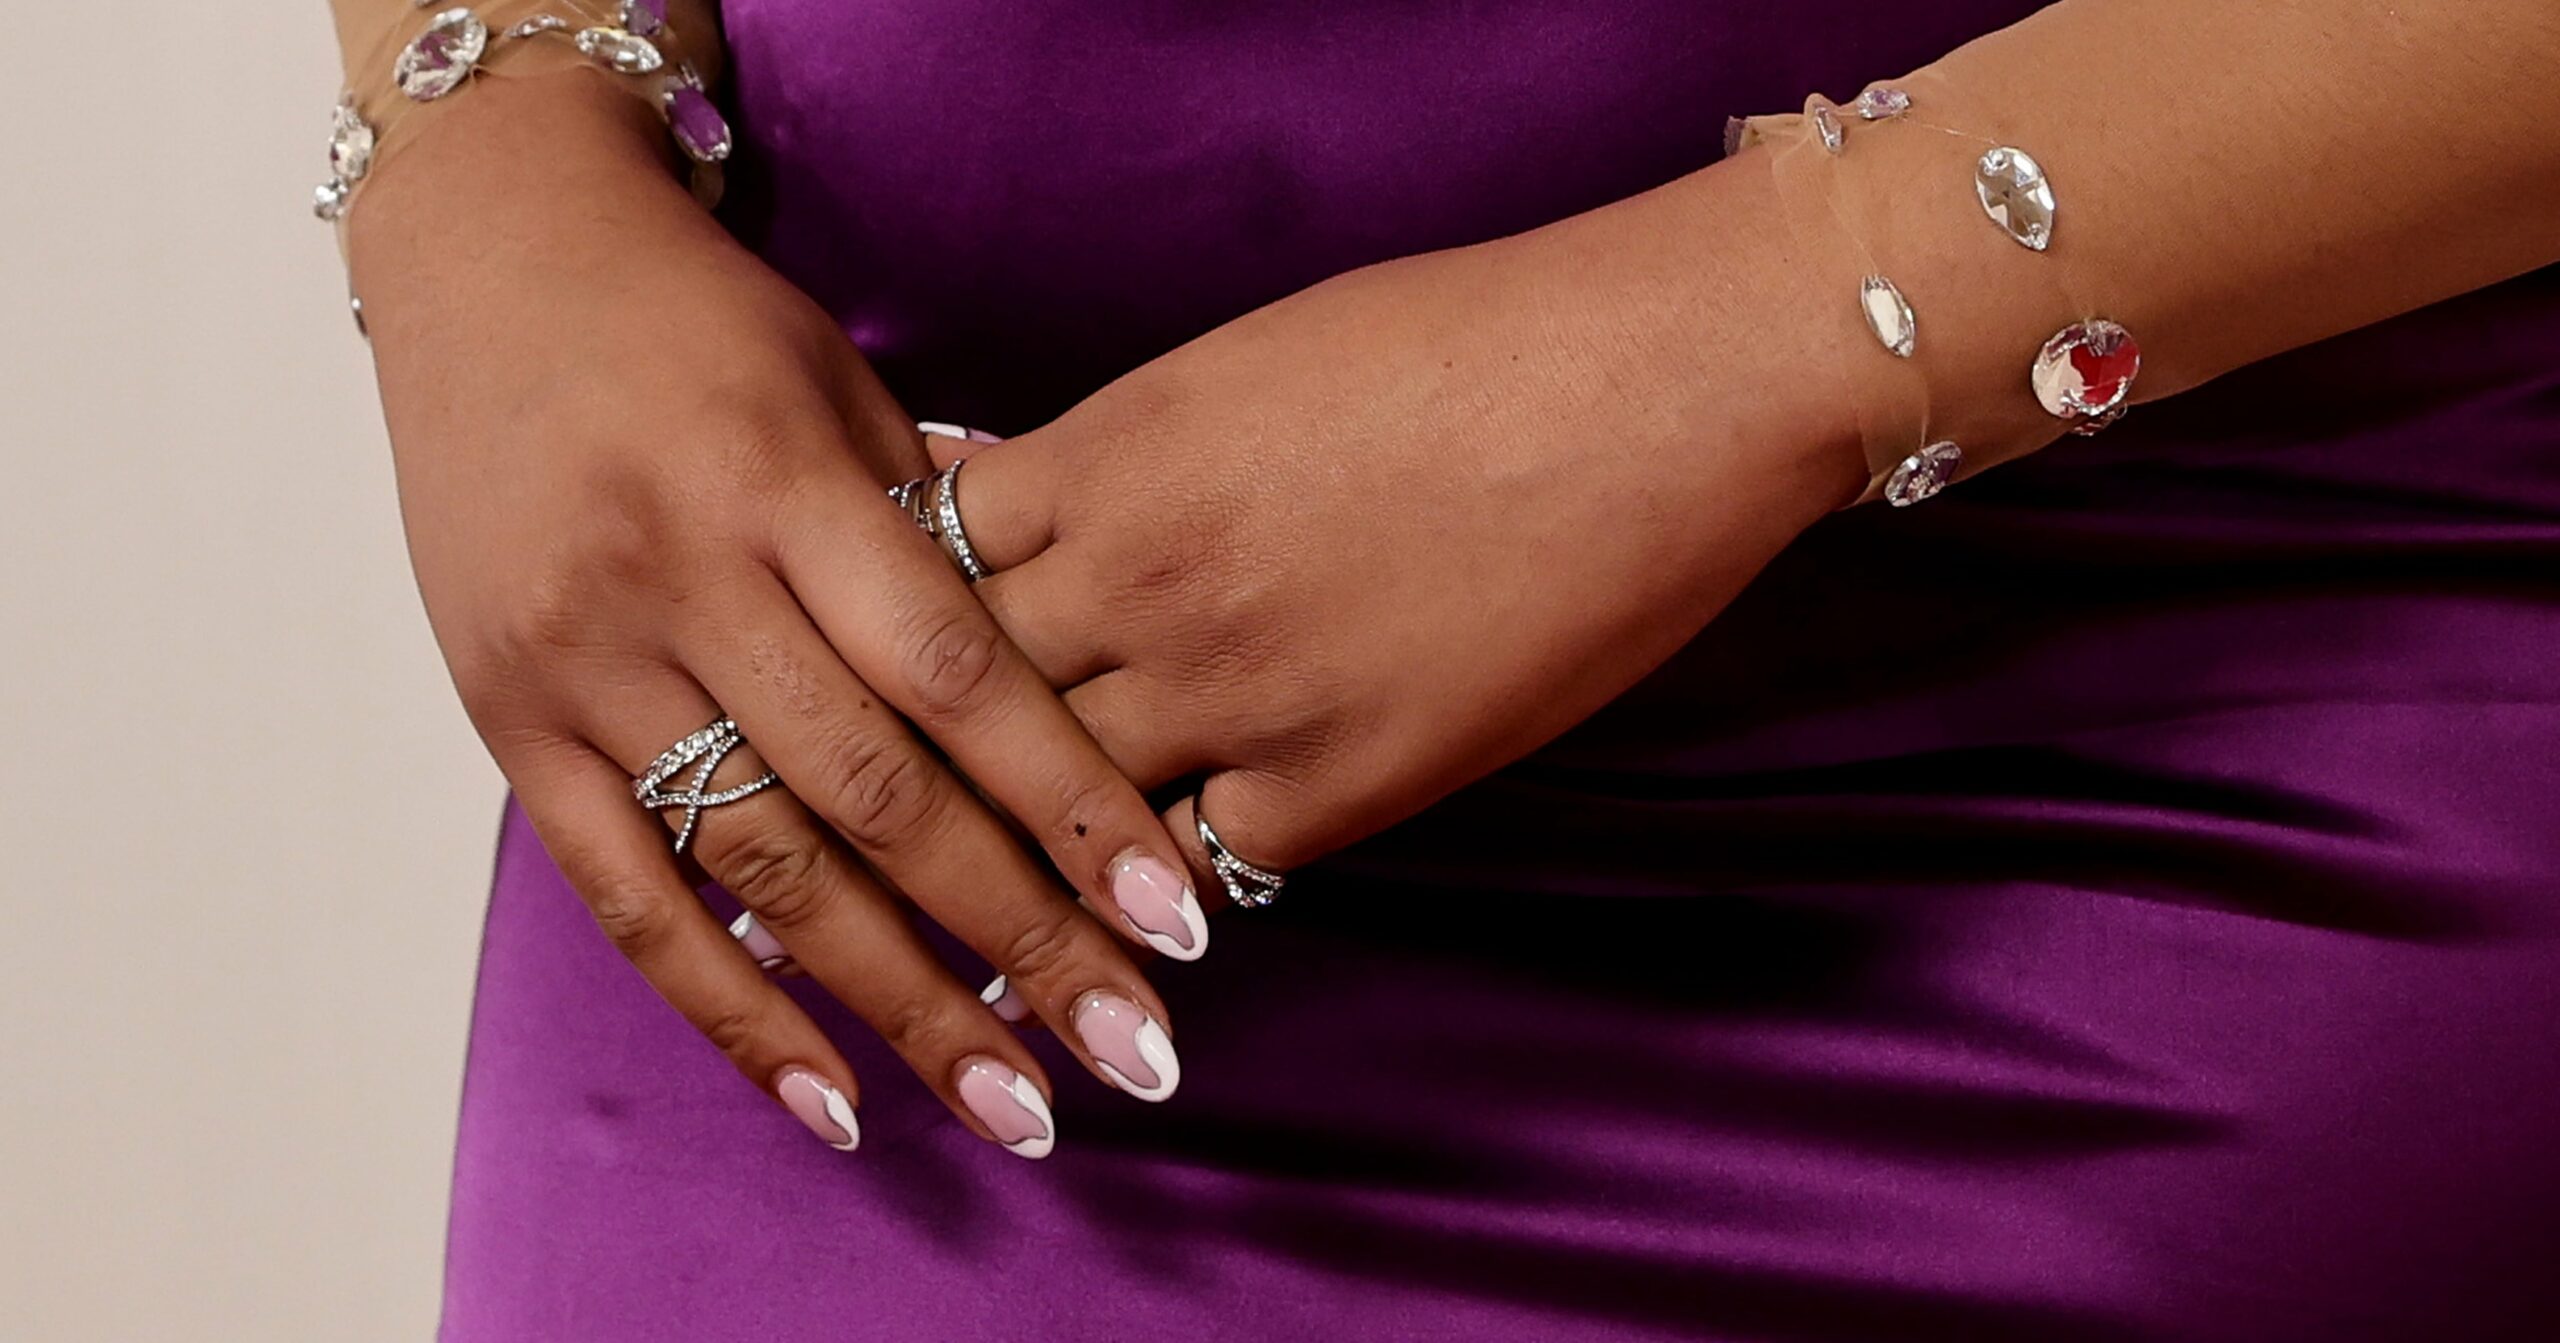
French manicures have proven to stand the test of time. The nail trend first spiked in popularity in the early ’00s, but over the last few years, has seen a major revival – and multiple iterations of the look, from shadow french tips to the double french manicure, to name a few. Just when you thought that people couldn’t get more creative, another version of the trend emerged: crushed french nails.
“Crushed french manicures are where the tips are textured by using 3D Gel,” celebrity nail artist Sarah Chue tells PS. “They’re gorgeous to look at, so it makes sense why they’re trending.”
If you feel like you’ve exhausted all of your french-manicure options, Chue breaks down everything you need to know about the popular textured nail look taking over social media. From how to get the look at home to the products that you’ll need to have on hand, keep reading for the lowdown.
What is a Crushed French Manicure?
You’ve likely come across numerous versions of this manicure, as it can also be referred to as crushed pearl nails or a crushed iridescent manicure; they’re essentially all the same. “That crinkly texture right at the tips of the fingers paired with an iridescent chrome takes the staple manicure to new heights,” Chue says.
Though the finish is primarily what differentiates this look from a regular french design, the technique to get a crushed french manicure is almost the same as the original, and they don’t always have to include an iridescent finish. “Opt for your go-to sheer shade as a base, then top it with a smile line of any color right where the free edge (the white part) of your nail grows to separate the look of the tip,” Chue says.
How to Do a Crushed French Manicure
Crushed french manicures can be achieved on either extensions or your natural nails, but you should have a bit of length at the tips to really show off the texture of the trend. “You’ll first want to cure your base coat before going in with your preferred sheer beige or pink, depending on the look you’re going for,” Chue says.
Then, you can either draw your smile line first and then apply a 3D gel only on the tips or vice versa. Whichever order you choose, Chue recommends using the Gel Bottle’s
As for creating the texture itself, you can either etch the irregular lines into the 3D gel by hand or crumple a piece of cling wrap, press it onto the tip of the nail, and then cure it under a UV or LED light. When you remove the plastic, you’ll be left with the gorgeous crumpled effect. If you want a more jagged finish, you can leave the 3D portion as is after you remove the cling wrap or file and buff the nail before adding a topcoat, which will result in a more encapsulated look.
We don’t blame you if you’re now feverishly on the hunt for crushed french manicure inspiration. Keep scrolling for some of the best versions of the trend we’ve found.


