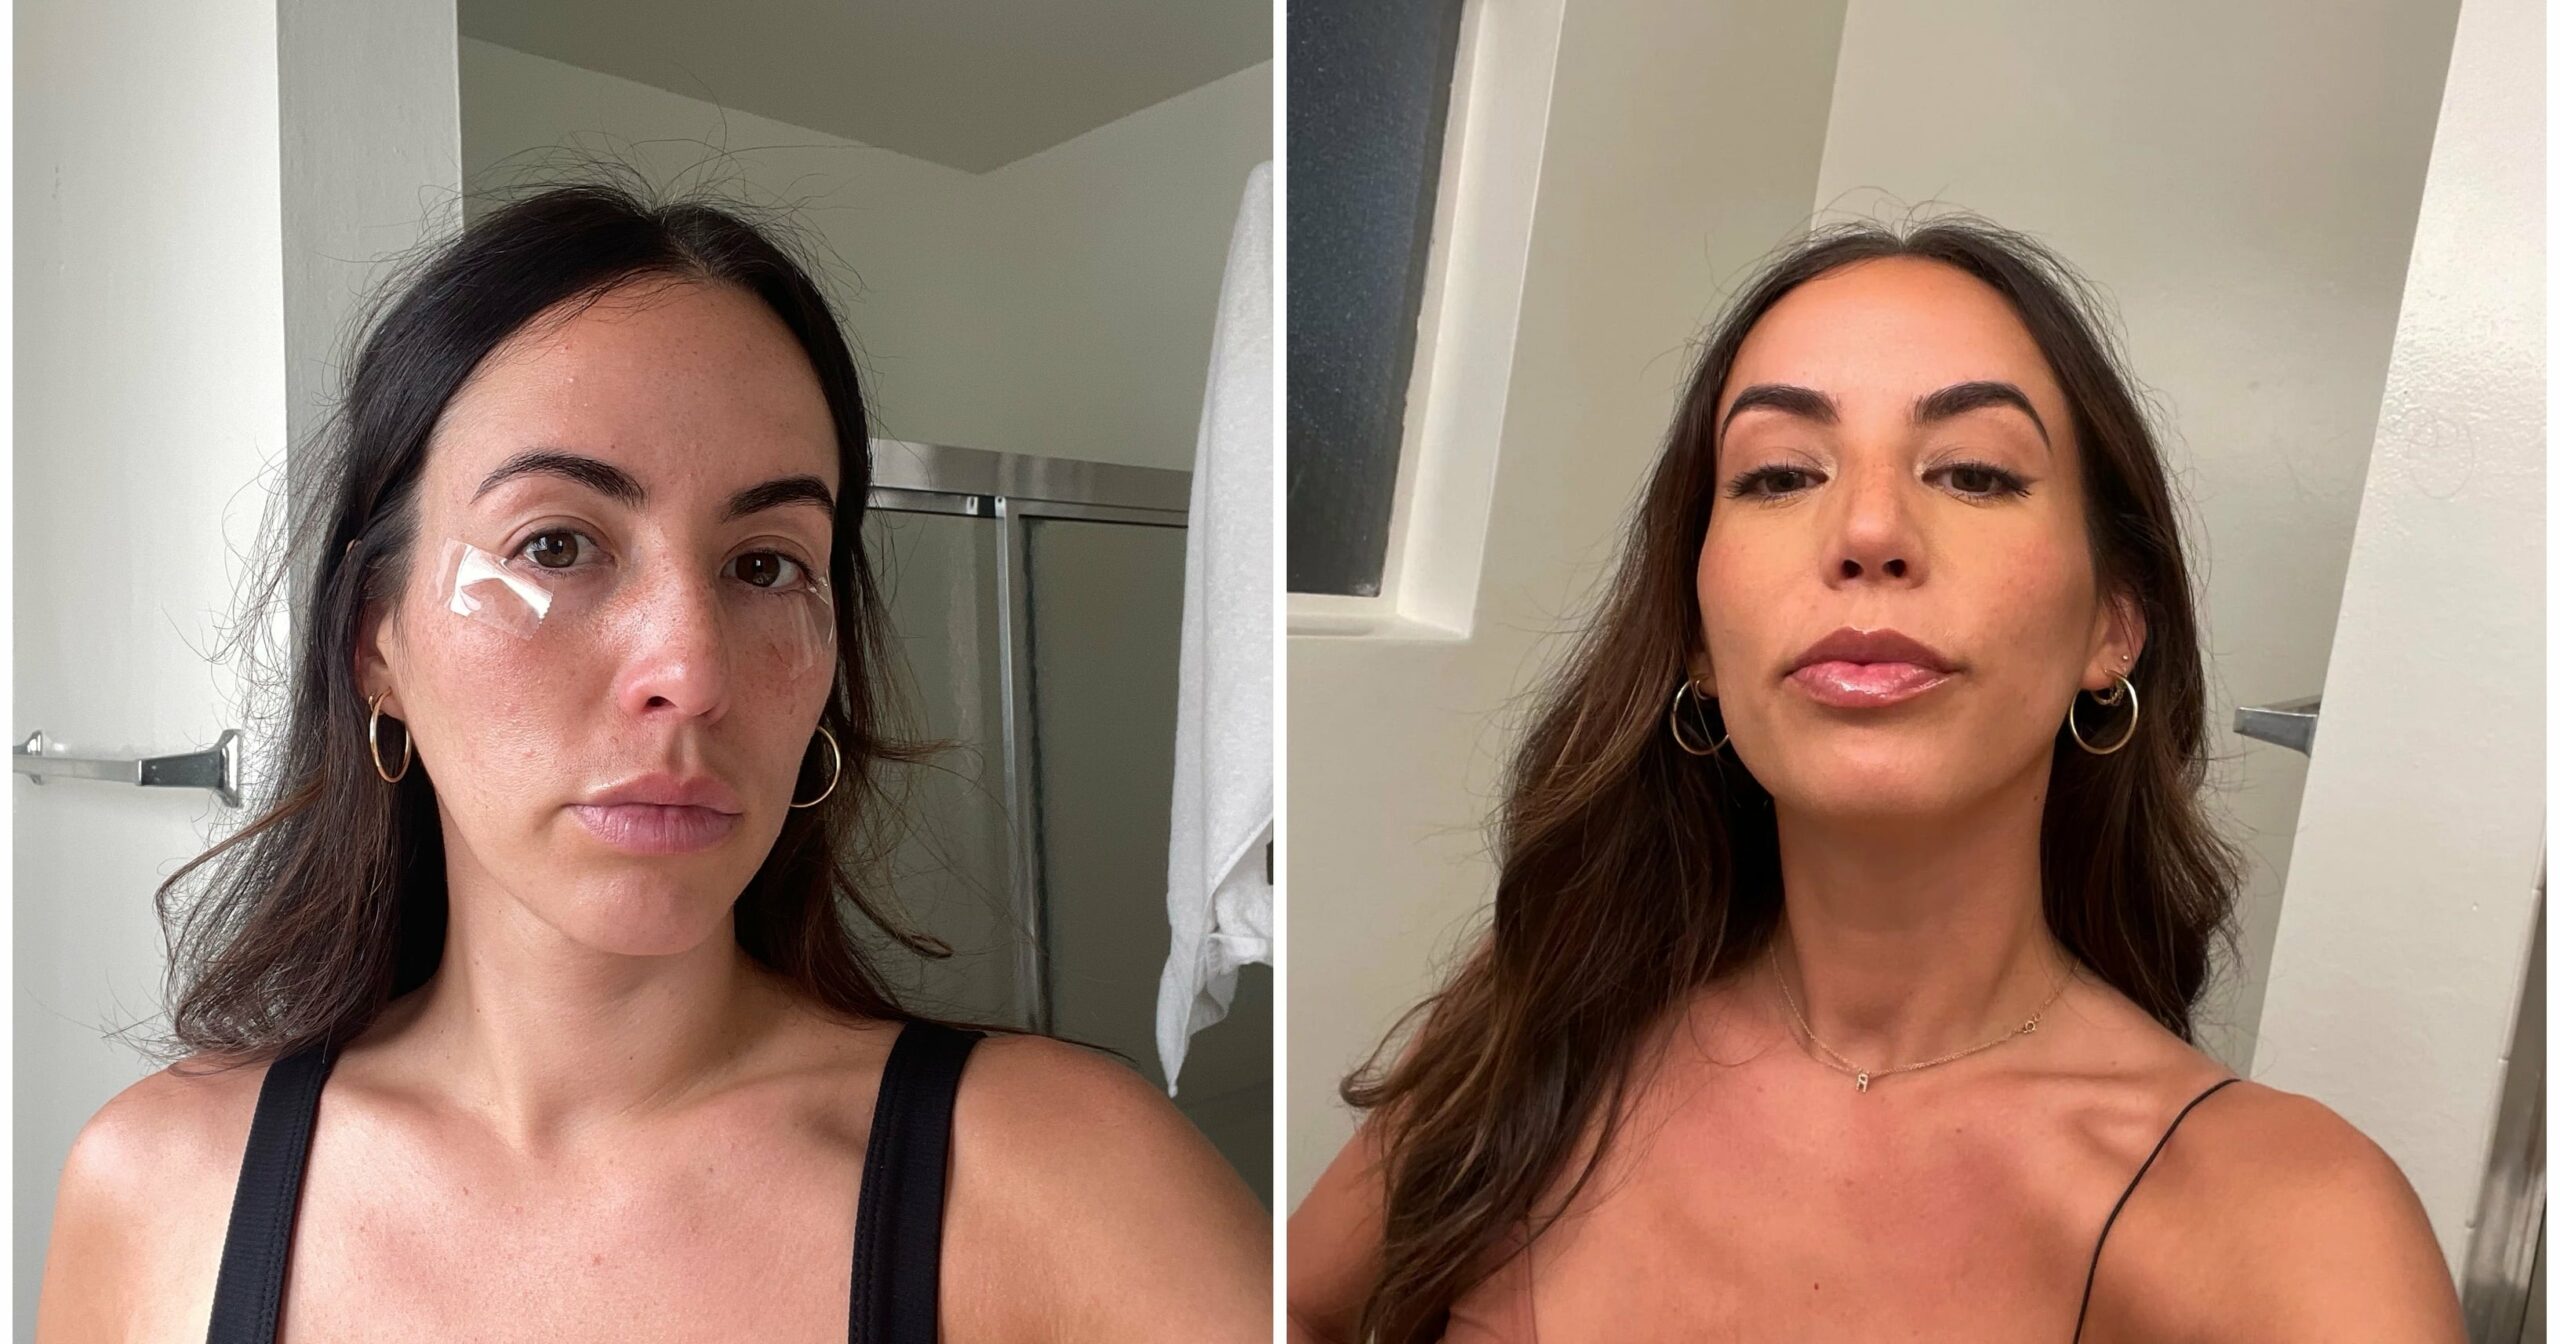
I have hooded, downturned eyes, and figuring out how to do winged eyeliner has been what feels like a life-long struggle. I’ve tried every type of eyeliner you can imagine: liquid, pencil, and even eyeshadow on an angled makeup brush. The medium never seemed to matter because the result was always a mess. That is until I came across one of Brynne Marie’s TikTok videos showcasing her go-to eyeliner technique.
The video has millions of views and hundreds of thousands of likes. However, I won’t lie: I initially thought the eyeliner was going to look like sh*t. Color me surprised when it actually looked really freaking good. The key to Brynne’s technique is to draw the line horizontally out of the corner of the eye, not up. I realized after watching her video over and over that I always did the opposite. I wanted to see if I could re-create it on my own eyes, even though they were a completely different shape.
In Brynne’s video, she uses Scotch tape to do her makeup and emphasizes that placement depends on your eye shape. “The key places to look out for even-ness are angles in this little corner,” she says, pointing to the outer corner of her eye, “and where the tape ends on your face.”
@brynnemarieeee #stitch with @alixearle tape eyeliner 4ever <3
She starts by using a black liquid eyeliner, which she says to think of as the base for the wing. To try it myself, I used the Urban Decay 24/7 Inks Easy Ergonomic Liquid Eyeliner Pen ($28), and I grabbed whatever tape I had in my junk drawer, which happened to be some clear knock-off Scotch tape. I followed her steps in the video, placing the tape underneath my water line at the outer corner of my eye. Then, I took my liquid eyeliner and began thinly lining my lash line straight out toward my ear, half as long as I wanted the actual wing to be.
Next, I went in with an angled brush and a dark brown eyeshadow from the Kosas Undressed Eyeshadow Palette ($40). I started the line in the center of my eye and went directly over the black using the brown eyeshadow. Then, following the next steps in the video, I went in with a slightly lighter brown directly on top of the other two lines. Pro tip: the lines are meant to be drawn on top of one another, and remember, you want to make sure you are drawing them out horizontally, not up.
Finally, I took a big fluffy brush and blended everything before slowly removing the tape. I won’t lie – removing the tape kinda hurts, but the result is totally worth it. It was genuinely the first time I had ever been able to do any kind of winged eyeliner that looked even remotely good.
Since my first time testing this hack, I’ve used it a ton. I don’t do my look as dramatic as the initial tutorial video, but I’ve found my rhythm with a technique that works great for my eye shape. One thing to note is you want to do this hack prior to doing your base makeup because the tape will mess up any foundation or concealer you have on your face. Besides that, it’s genuinely the perfect hack. If you’ve been struggling with winged eyeliner, give Brynne’s video a watch. I promise you won’t be disappointed. Just remember: draw horizontally, not up, and prepare to be amazed.
Renee Rodriguez is a staff writer and social producer for POPSUGAR. She writes across all verticals, but her main areas of expertise focus on fashion and beauty content with an emphasis on reviews and editor experiments. She also produces social content for POPSUGAR’s TikTok and Instagram accounts.


