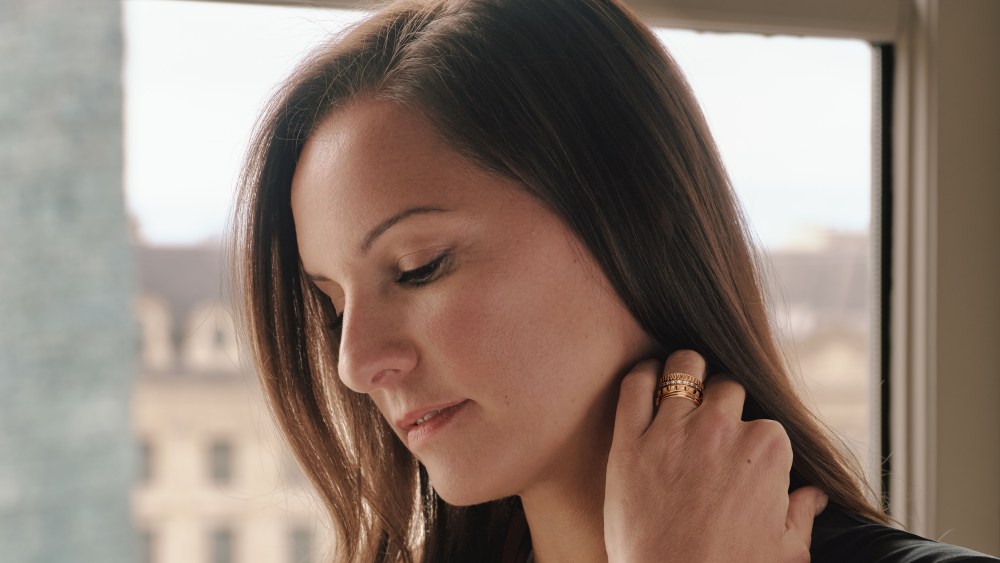

Blush is a classic and highly common step in any makeup routine – from an everyday look to full-out glam – but this can cause it to be overlooked and even taken for granted. We sometimes forget how just one swipe of blush can instantly enhance your features or brighten your face, and there is far more variation in techniques when it comes to how to aply blush than you may have anticipated. What’s more, every skin type, texture, and tone has specificities that are most conducive to blush application.
From lifting the cheekbones to giving the skin a sun-kissed look sans UV rays, even just a light dusting of blush can have a huge impact. A testament to how much a little blush can do for you? Just take a look at all of the different blush hacks out there. Ahead, pro makeup artists break down a collection of things to keep in mind as you go about your makeup routine so you can make sure you know how to apply blush like a pro.
Experts Featured in This Article
Romana Lai is a makeup artists and the cofounder of Romana Makeup New York.
Evie Ry is a makeup artist and the other cofounder of Romana Makeup New York.
Jaleesa Jaikaran is a makeup artist and host of “The Life of a Makeup Artist” podcast.
First, a Note on Blush Formulas
“There are three main textures of blush: cream, liquid, and the classic powder,” makeup artist Evie Ry tells PS. “Creams are more forgiving and you can sheer them out much more easily as opposed to liquid blush and tints.” Both Ry and Romana Lai, makeup artists, say there’s a trick when it comes to how to apply cream blush: using your fingers. Warming up the blush to be “hand temperature” aids in easier application.
When it comes to how to apply liquid blush, which is less dense than cream ones, a common folly is letting it stain your cheeks with little finger prints before you have the chance to smooth it out. For this consistency of blush, a brush known as a stippling brush can help apply it smoothly and evenly to your cheeks. “They’re great because you can sheer out the blush much easier,” Ry says. For powder blush, it’s also all about the brush, which “should be a round brush, and make sure it’s really soft,” Lai says.
She adds that she normally steers clear of powder blushes on a day-to-day basis, especially in warmer weather, because it can be messy. “Powder blushes are not usually long-lasting, especially in the summertime when you are sweating. The blush disappears.”
Tip 1: Pick a Blush Based on Your Skin Type
Knowing your individual skin type – in addition to what kind of blush is most conducive with it – may be the most important aspect of your routine. Here are some tips for specific skin types:
- For sensitive skin: “Pretty much all sensitive-skin people have redness,” Lai says. “So usually the color won’t show unless you cover or correct the color first. I will do a little bit of color correction to remove the redness under the skin tone and apply foundation to make sure my skin color is even.” Green-tinted color-correction formulas, or even just a highly pigmented concealer, can help cover any redness before applying blush.
- For acne-prone skin: While you never want to apply too much makeup for fear of clogging pores, when you do, there are a few things to keep in mind. “[Acneic] skin tends to have a lot of oil, so I would recommend using the powder blush because you don’t want to add oil-based products on top of oil,” Lai says. Shimmer blush can also often emphasize breakouts, she says, so sticking to matte finishes might be best.
- For oily skin: Cream multiuse products tend to work best for people with oily skin. “They are made with a thought in mind that they will be used on all the areas, and some of those areas [tend] to be a little more oily than others,” Ry says.
Tip 2: Pick the Right Shade For Your Skin Tone
Another thing you’ll want to consider is which color blush is best for your skin tone.
Those with fair skin tones will want to opt for pinks in peachy or cool shades, like the Too Faced Cloud Crush Blurring Blush in Candy Clouds ($31). If you have a medium skin tone, opt for warmer colors, like a rosy pink or a coral. Our current favorite is the E.l.f. Halo Glow Blush Beauty Wand in Pink-Me-Up ($9). Olive skin tones can opt for peachy browns, like an apricot, or a warm rose shade. We love the ColourPop Cheek Palette in Born to Blush ($12) for olive skin tones.
When looking for blush for dark skin tones, opt for something berry, bright, or even red or orange. “There are so many gorgeous shades for deeper skin tones,” Jaikaran said. “Berries complement deeper skin tones beautifully.” One of her favorites? The Milk Makeup Lip + Cheek Cream Blush Stick in Quickie ($24).
If berries aren’t your thing, Jaikaran also loves orange blushes on deep skin tones. From bright, true-to-color oranges to more pinky-coral hues, the variations of this shade feel endless. Of all the oranges she’s used, she said the Mary Kay Chromafusion Blush ($14) remains the one to beat.
Ultimately, however, it all comes down to personal preference: “This is just the rules of makeup as they teach them,” Ry says. “If you have a color that you like and that you think looks great on you, stick with that.”
Tip 3: Choose Your Blush Product Based on the Occasion
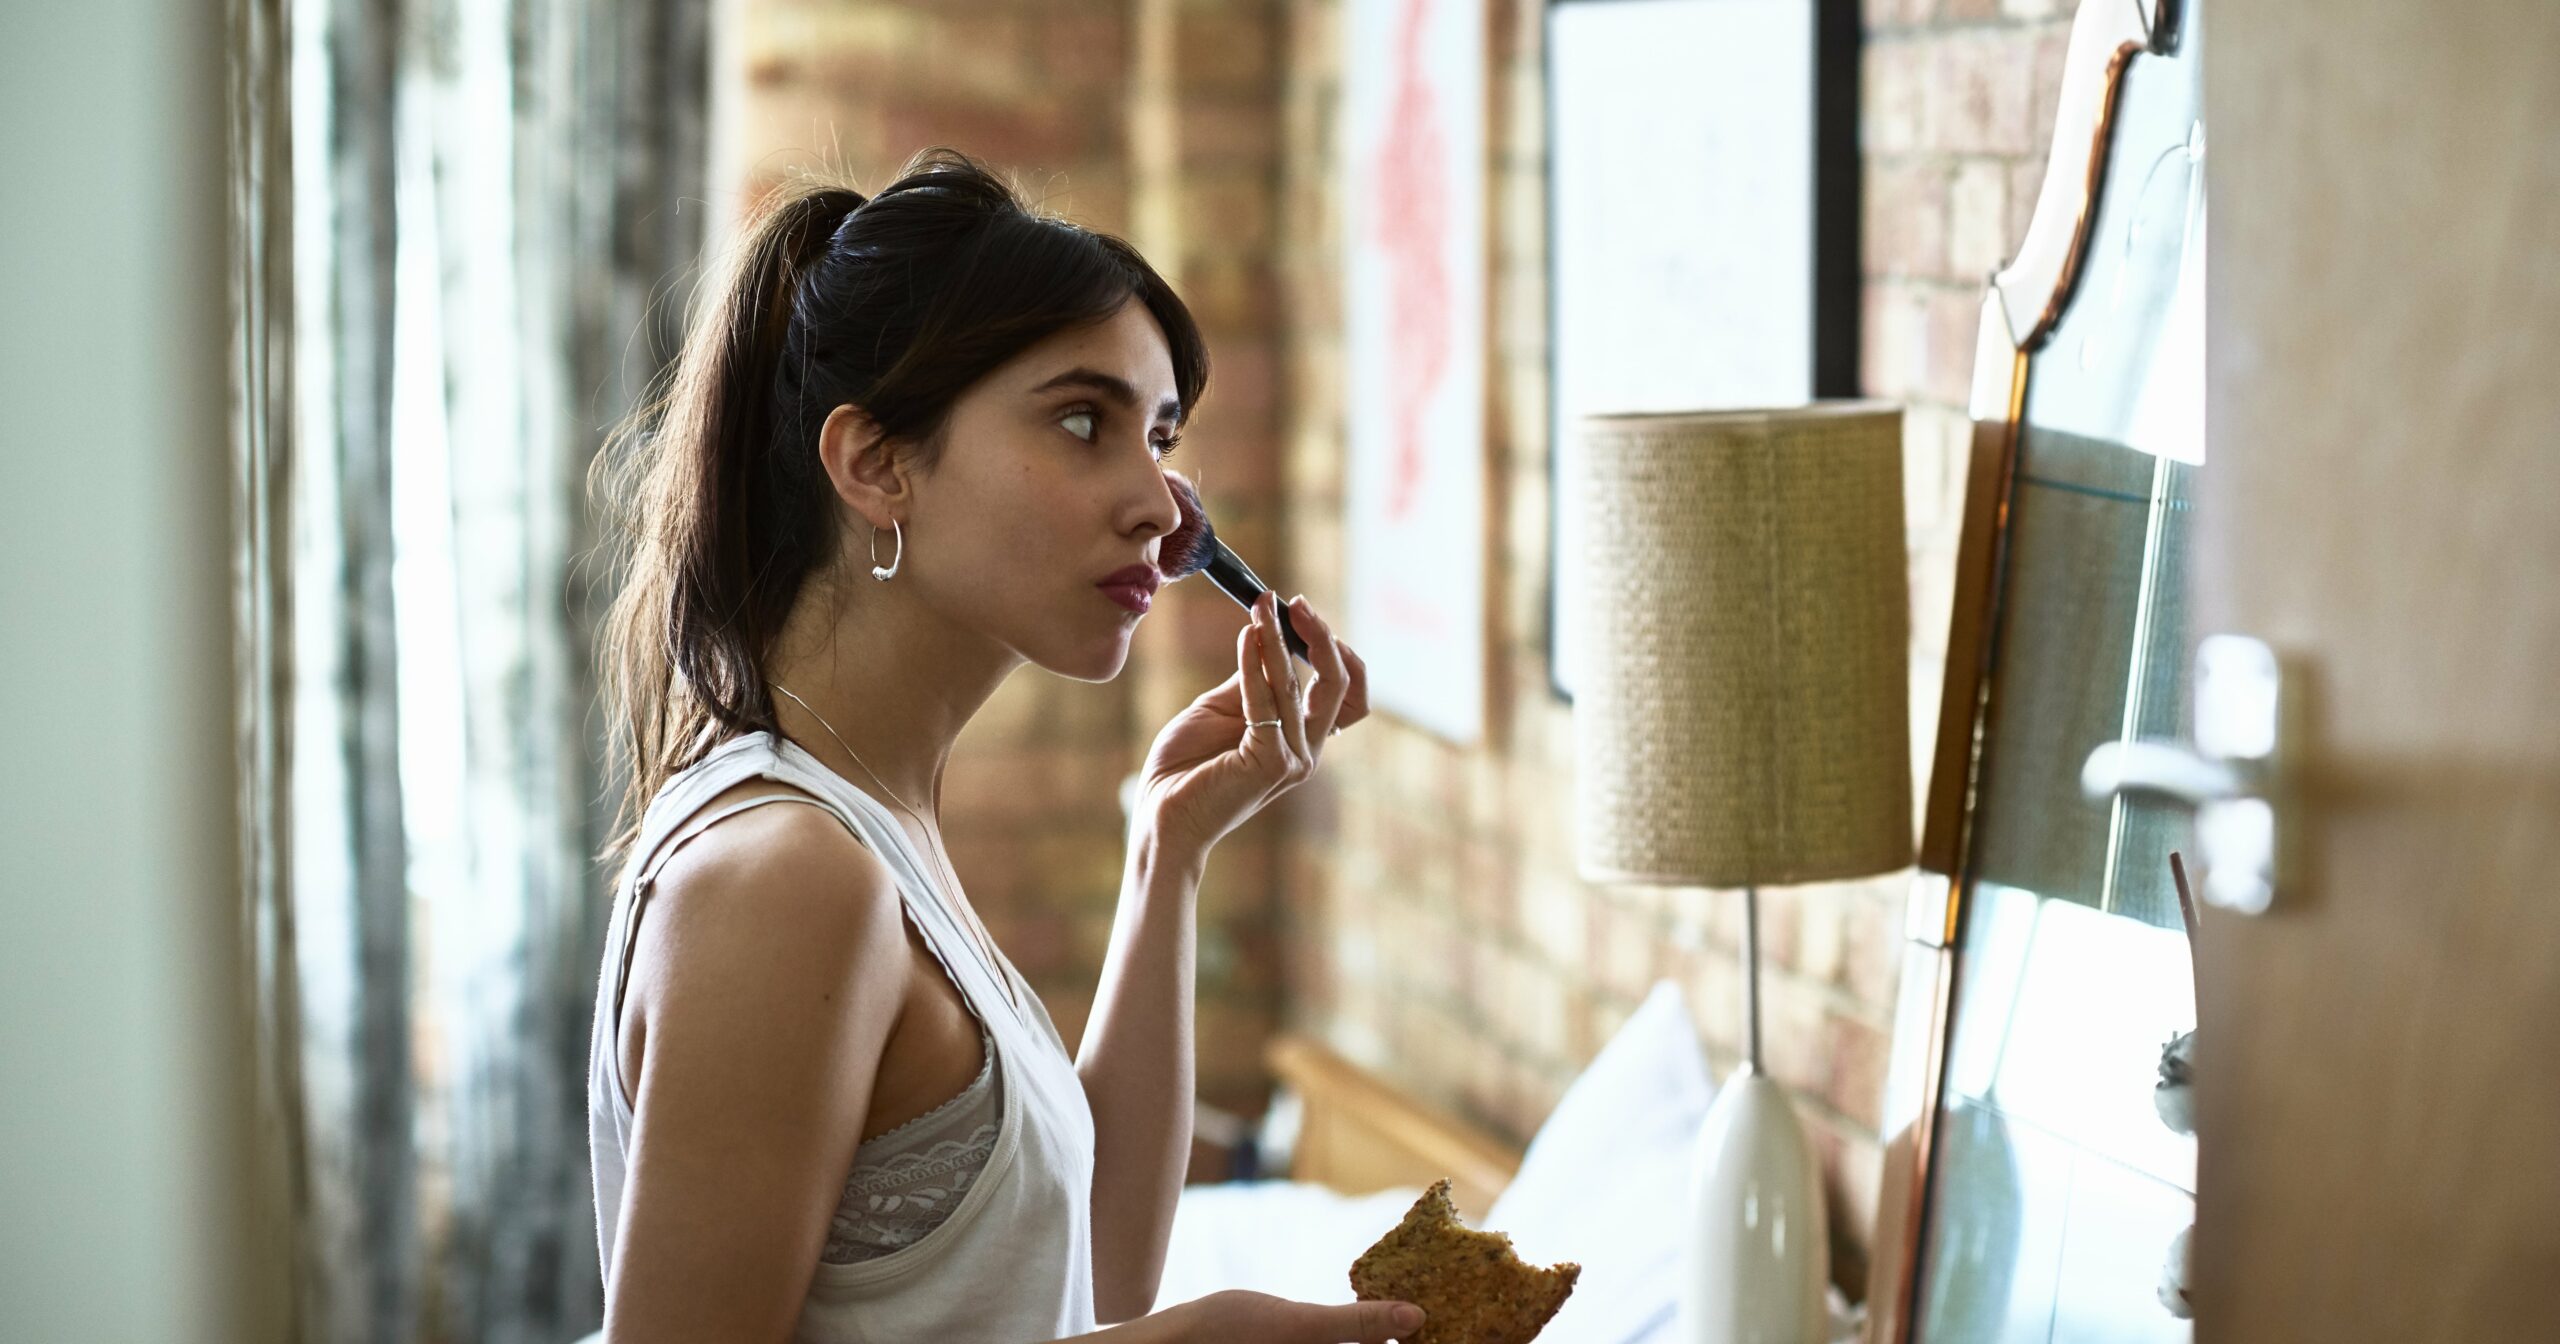
While there is no one set rule for how our makeup should look for any given event, it is helpful in optimizing the look of your blush to consider where you’re going and the occasion. If you only have five or 10 minutes in the morning, “I like to apply blush using my finger,” Lai says. “I just get a pink blush and I can apply blush and my lip color at the same time. But if I go to really formal events and want to wear full makeup, I will spend time contouring my blush. So it depends on what kind of event and how much time [you have prior].”
For everyday looks, a bit of sheen from a cream blush can add brightness to your skin. “Creams are mostly oil-based, so they will give you this natural sheen and glow and feeling that everyone likes on a day-to-day basis,” Ry says. Just be warned that this light reflection is not the best if you’re going to be on camera or are taking photos for a big event. Going for brighter and more saturated pigments with liquid or powder can help your makeup stand out for those occasions. “The camera lighting is more intense,” says Lai, “so everything has to be more intense color-wise.”
For longer days, you’ll want to pick a blush – or two – to help it last. “For the most longevity, use cream blush and then a powder blush on top so that it prolongs makeup,” Ry says.
Tip 4: Build Your Base
“When applying blush, you want to have your base ready,” Ry says. That means applying your foundation or tinted moisturizer before you pick up any type of blush. For everyday, Lai recommends a simple light foundation as your base, but when you need your makeup to pop, she says to go for the full package. “For a more glam kind of look, I will also add the contour and highlight, a really light-color foundation under the eye, and a dark foundation on the jawline before applying the blush.”
Your prep can also depend on the formula of your blush of choice. “If you’re doing cream blush or liquid blush, you do not want to set the foundation with powder before that,” Ry says. “But if you’re applying powder blush, you’d want to powder your foundation before so that it doesn’t sort of create a stain on the foundation.”
Tip 5: Apply Blush Under Good Lighting
The lighting in which you do your makeup is crucial in getting your look down. This is true especially for shimmer-blush looks: “If you’re in the dark, you’re not going to see the metallic,” Lai says. “So when you apply a metallic blush product, make sure you are in good lighting and find a good spot to make sure you do not apply too much.”
Posting up near a window to do your makeup allows you to work with natural light. If your space does not get a lot of natural light, purchasing a small inexpensive ring light to clip onto your mirror works well too.
Tip 6: Tweak Your Blush Application Technique
It’s not just the type of blush you use that matters, it’s also how you apply the blush that makes a big impact. You can create a myriad of different looks that can enhance your features in different ways simply with your application technique. If you have a long or oval face shape, apply the blush just under the apples of the cheeks to add dimension and the illusion of roundness. If you have a round face shape, create an elongated look by keeping the blush on the cheekbones, pulling it up and out toward the temples. To define even further, top off with bronzer on the hollows of the cheeks and also right under the jawbone.
To create a “lifted” look, Rye has a piece of advice: instead of applying in a circular motion to the apple of the cheeks, instead do a sweeping motion, going outward and up toward the temples. This can help accentuate the cheekbones and give a youthful glow.
No matter the look you’re going for, with the right tools, formulas, and practice, you can get to know what blush works best for your skin and needs. “For me, makeup is more like a balance,” Lai says. “Your skin is a paper so you have to balance out every product together to achieve the look you want to achieve. Makeup is all about your taste and how you understand the colors altogether. It’s like art.”
– Additional reporting by Renee Rodriguez and Ariel Baker
Cali Delisle was a PS contributor.
Ariel Baker was the associate editor for PS Beauty. Her areas of expertise include celebrity news, beauty trends, and product reviews. She has additional bylines with Essence and Forbes Vetted. Fun fact: Ariel is a major lover of animals, especially her two cats, Cow and Chicken.
Renee Rodriguez is a staff writer and social producer for PS. She writes across all verticals, but her main areas of expertise focus on fashion and beauty content with an emphasis on reviews and editor experiments. She also produces social content for the PS TikTok and Instagram accounts.